In this post I will show you a simple (best of all free!) way to optimise images for web online. Doing this will speed up your website page loading time. And keep your customers from leaving you for your competition. I will be talking about how to make your website load super fast, and keep you ahead of your competition online. Not everybody has photo editing software like Photoshop or Lightroom. So here is a quick and easy guide on how to optimise images for web online. I will use this example photo:
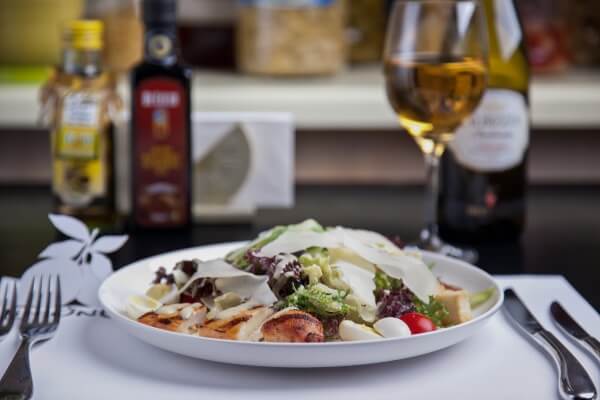
A sample image ready to be optimised online
Check the photo size
Like I mentioned in my previous post . first thing to check is the size of the photo that you want to upload to your website or blog. To find this out select Properties from the menu and click on the Details tab in the Properties box. On a Mac, right-click (or hold down the Control key and click) the image thumbnail and choose Get Info.
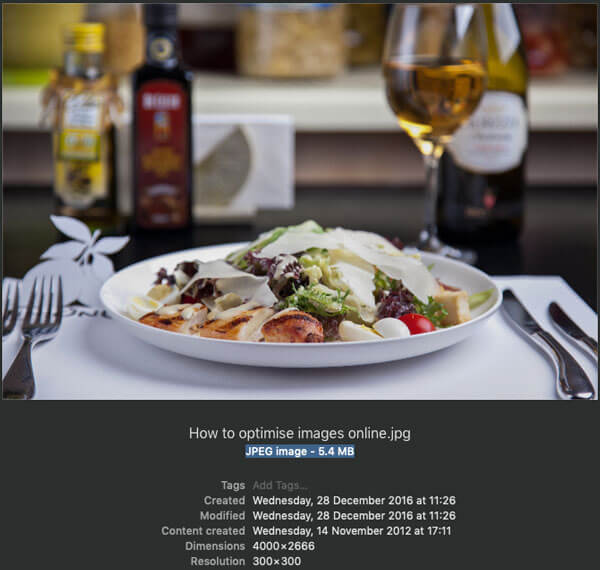
speed up your website by optimising photos online
It is 4000 Pixels wide and 2666 Pixels in height with a resolution of 300 Pixels/Inch, and it is a huge 5.4 MB – 5400KB. Uploading such large photos to your website will have a detrimental effect on how quickly your website or blog loads. This will have a direct impact on potential clients. People are impatient and will navigate away to another website if it takes too long to load.
Editing the photo
There are many online photo editors, I chose Pixlr Online Photo Editor for my post. Once you have opened the Pixlr website. You will see an Open Image tab, click on it and navigate to your photo, or drag it onto the webpage:
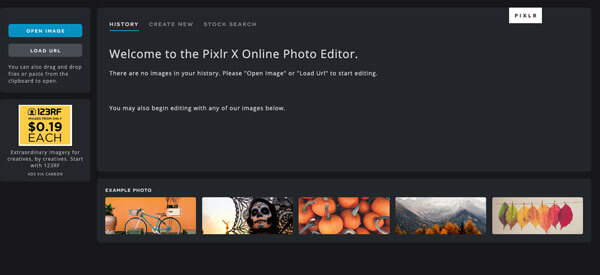
Optimise images for web online with Pixlr
Once you have located the image, you will see this box:

optimise your photos to speed up your website
The Open Image box will let you know that it is a huge image (especially for online purposes), but go ahead anyway and click on the Ultra HD box. Essentially this is the same size as the original image, you do not need to edit the resized image as we will resize when saving. the more times you resize an image, the more you will degrade the quality of the image. Click Ok and open the image.
Pixlr has numerous photo editing functions available, but all we need to know in this tutorial is resizing and optimising images for websites online. Once it is open all you need to do is save it, so go ahead and click save. A box will open.
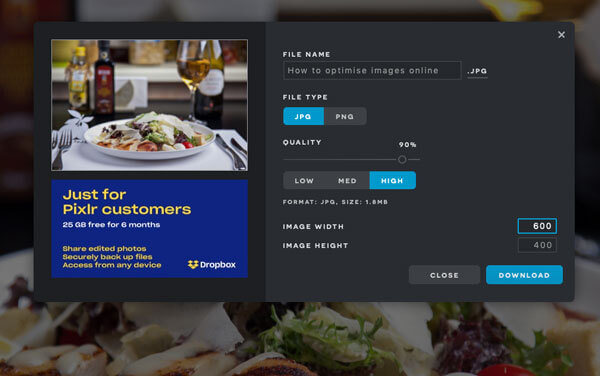
Resize the image and save it for websites
Type in a width of 600 – this is a standard size for images in a post or in your portfolio. Please check your website’s documentation or ask your webmaster what the best dimensions are for images on your website. They might vary depending on the website.
The image height will change as the proportions are constrained. Click DOWNLOAD.
I have also recently discovered another a similar online free photo editing tool. So I thought you might be interested in checking it out: The Canvas Photo Editor
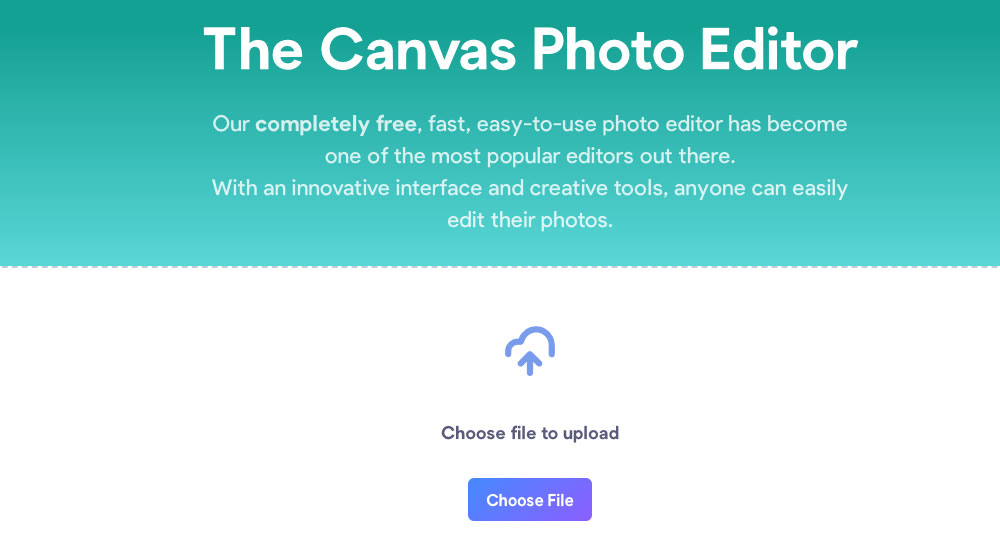
The Canvas Photo Editor
You can drag an image and start editing. It’s got great features and is completely free and easy to use.
After using one of the two photo editors I have mentioned. You should have an image that has been optimised for web and ready to upload. There is one extra step you should take. I always finish off by uploading my images to TinyPNG . It is a handy online tool to further reduce an image size. And the best part of it is that you cannot see the difference in image quality.

Use this online image resizing tool
It is really easy to use. Drag your downloaded image onto the page and wait for the green progress bar to complete.
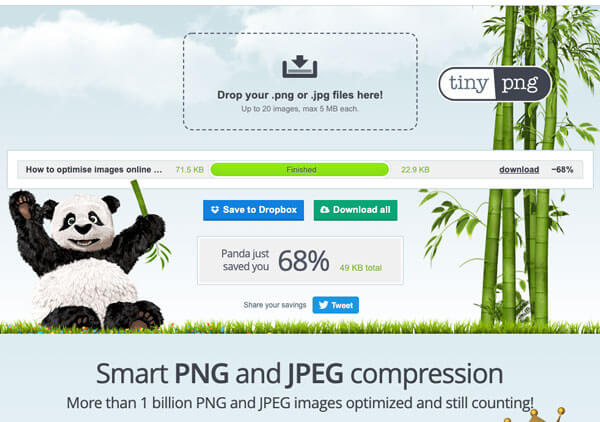
Click download and the image is ready for you to upload onto your website or blog. To remind you I started off with a photo that was 5.4 MB – (5400KB). I ended up with it only being 22.9KB which is a whopper of a saving.
Another similar app to Tiny PNG is Website Planet’s Image compressor. It has exactly the same type of interface as Tiny PNG so there is no explanation about how to use it needed.
I hope this blog on how to optimise images for web online has been useful to you. Get in touch with me if you have any photo retouching enquiries or photos to edit. Happy to help!